Get Started with Ledger: Your Secure Gateway to Digital Assets
Welcome to Ledger, the world’s leading provider of secure hardware wallets for cryptocurrency and digital asset management. Whether you're a seasoned investor or a newcomer to the world of cryptocurrencies, Ledger offers the most secure, user-friendly solutions to help you protect and manage your assets. If you’re ready to get started with Ledger and take control of your crypto journey, this guide will walk you through the easy steps to setting up and using your Ledger hardware wallet.
Why Choose Ledger?
At Ledger, we understand the importance of security in the digital asset space. Cryptocurrencies, like Bitcoin, Ethereum, and other tokens, offer unprecedented opportunities but also come with certain risks, such as hacking and theft. Ledger’s products are designed to provide the highest level of security to protect your investments.
Key benefits of Ledger include:
- Unparalleled Security: Ledger’s hardware wallets store your private keys offline, making them immune to online hacks and phishing attacks.
- Multi-Currency Support: Ledger devices support a wide variety of cryptocurrencies, including Bitcoin, Ethereum, XRP, and many more, allowing you to manage all your assets in one place.
- Backup and Recovery: With Ledger’s backup and recovery features, you can rest assured that your assets are protected, even in the event of hardware damage or loss.
- Easy to Use: Ledger’s user-friendly interfaces make it easy for anyone to get started with cryptocurrency, regardless of experience level.
Step 1: Choose Your Ledger Wallet
The first step in starting your journey with Ledger is selecting the right hardware wallet for your needs. Ledger offers two popular models: the Ledger Nano S and the Ledger Nano X. Each wallet provides robust security features, but there are key differences to consider:
- Ledger Nano S: A compact and affordable option, perfect for users who want to securely store a small number of assets. It connects to your computer via USB and supports a wide range of cryptocurrencies.
- Ledger Nano X: The advanced model, offering Bluetooth connectivity, larger storage capacity, and support for over 1,800 different digital assets. It’s ideal for users who want to manage a diverse portfolio of cryptocurrencies on the go.
Once you’ve selected the wallet that suits your needs, you’re ready to move on to the next step.
Step 2: Set Up Your Ledger Wallet
Setting up your Ledger device is quick and easy. Here’s how you can do it:
- Unbox Your Ledger Wallet: When you receive your Ledger device, you’ll find everything you need to get started in the box, including the wallet itself, a USB cable (for Nano S), and a recovery sheet.
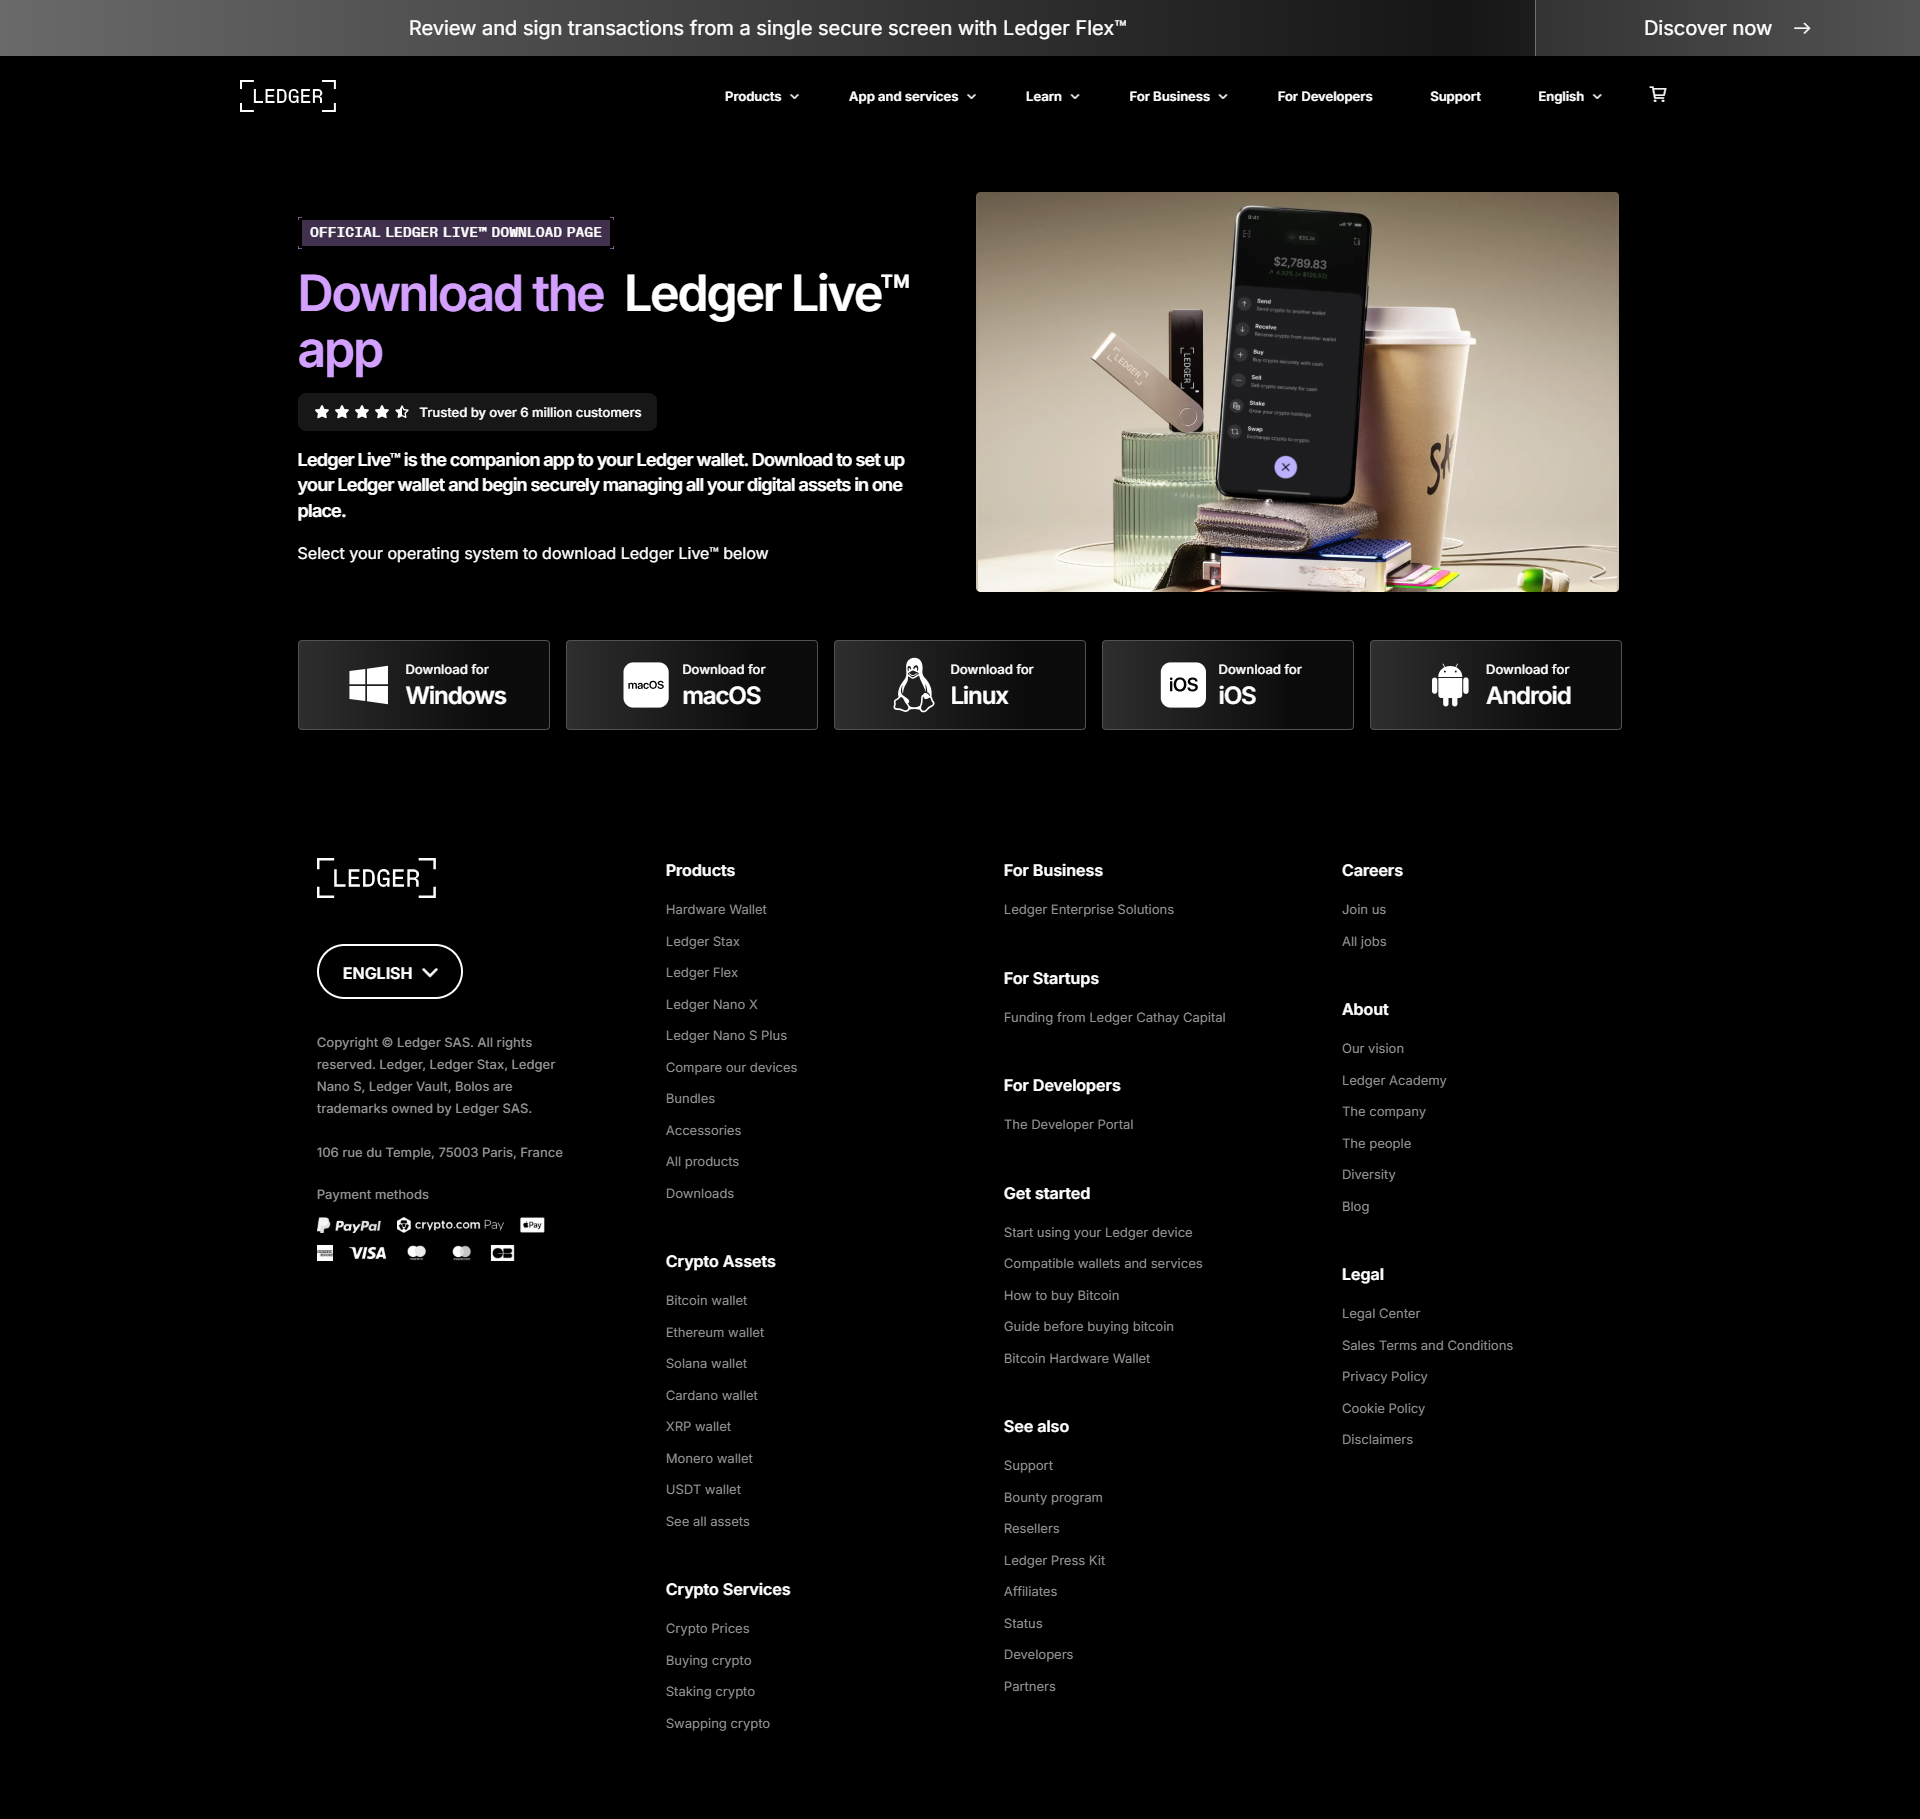
- Install the Ledger Live App: Ledger Live is the software that allows you to manage your cryptocurrency accounts securely. It’s available for download on both desktop (Windows, macOS, Linux) and mobile devices (iOS, Android). Install the app to begin the setup process.
- Initialize the Device: Connect your Ledger device to your computer or mobile phone using the USB cable (for Nano S) or Bluetooth (for Nano X). Follow the on-screen instructions to set up your wallet, including creating a PIN code to protect your device.
- Backup Your Recovery Phrase: During the setup process, you will be prompted to write down a 24-word recovery phrase. This phrase is crucial for recovering your wallet in case of device loss or failure, so be sure to store it safely offline.
Step 3: Add Your Cryptocurrency Accounts
Once your Ledger wallet is set up, you can start adding cryptocurrency accounts to it. Ledger Live makes it easy to manage your assets:
- Install Cryptocurrency Apps: For each cryptocurrency you wish to manage, you’ll need to install its corresponding app on your Ledger device via the Ledger Live app.
- Add Accounts: After installing the app, create accounts for each cryptocurrency you wish to manage. You can add as many accounts as you need.
- Receive and Send Crypto: To receive cryptocurrency, simply share your wallet’s public address with the sender. To send crypto, select the cryptocurrency account in Ledger Live, input the recipient’s address, and confirm the transaction on your Ledger device for added security.
Step 4: Use Your Ledger Wallet Securely
Now that your Ledger wallet is set up and your accounts are added, you’re ready to begin managing your digital assets. Always remember to keep your recovery phrase secure and never share it with anyone. Your private keys are only ever stored on the Ledger device, ensuring that your assets are protected from online threats.
For added peace of mind, Ledger offers continuous software updates and support, so you can always stay ahead of potential security risks and enhance the functionality of your device.
Conclusion
Getting started with Ledger is simple and secure, thanks to its user-friendly setup process and robust security features. Whether you’re holding a small amount of cryptocurrency or managing a large portfolio, Ledger provides a reliable solution to ensure that your assets are safe.
Start your journey today by choosing the Ledger device that best fits your needs, and enjoy the peace of mind that comes with knowing your digital assets are secured by the most trusted name in cryptocurrency protection.